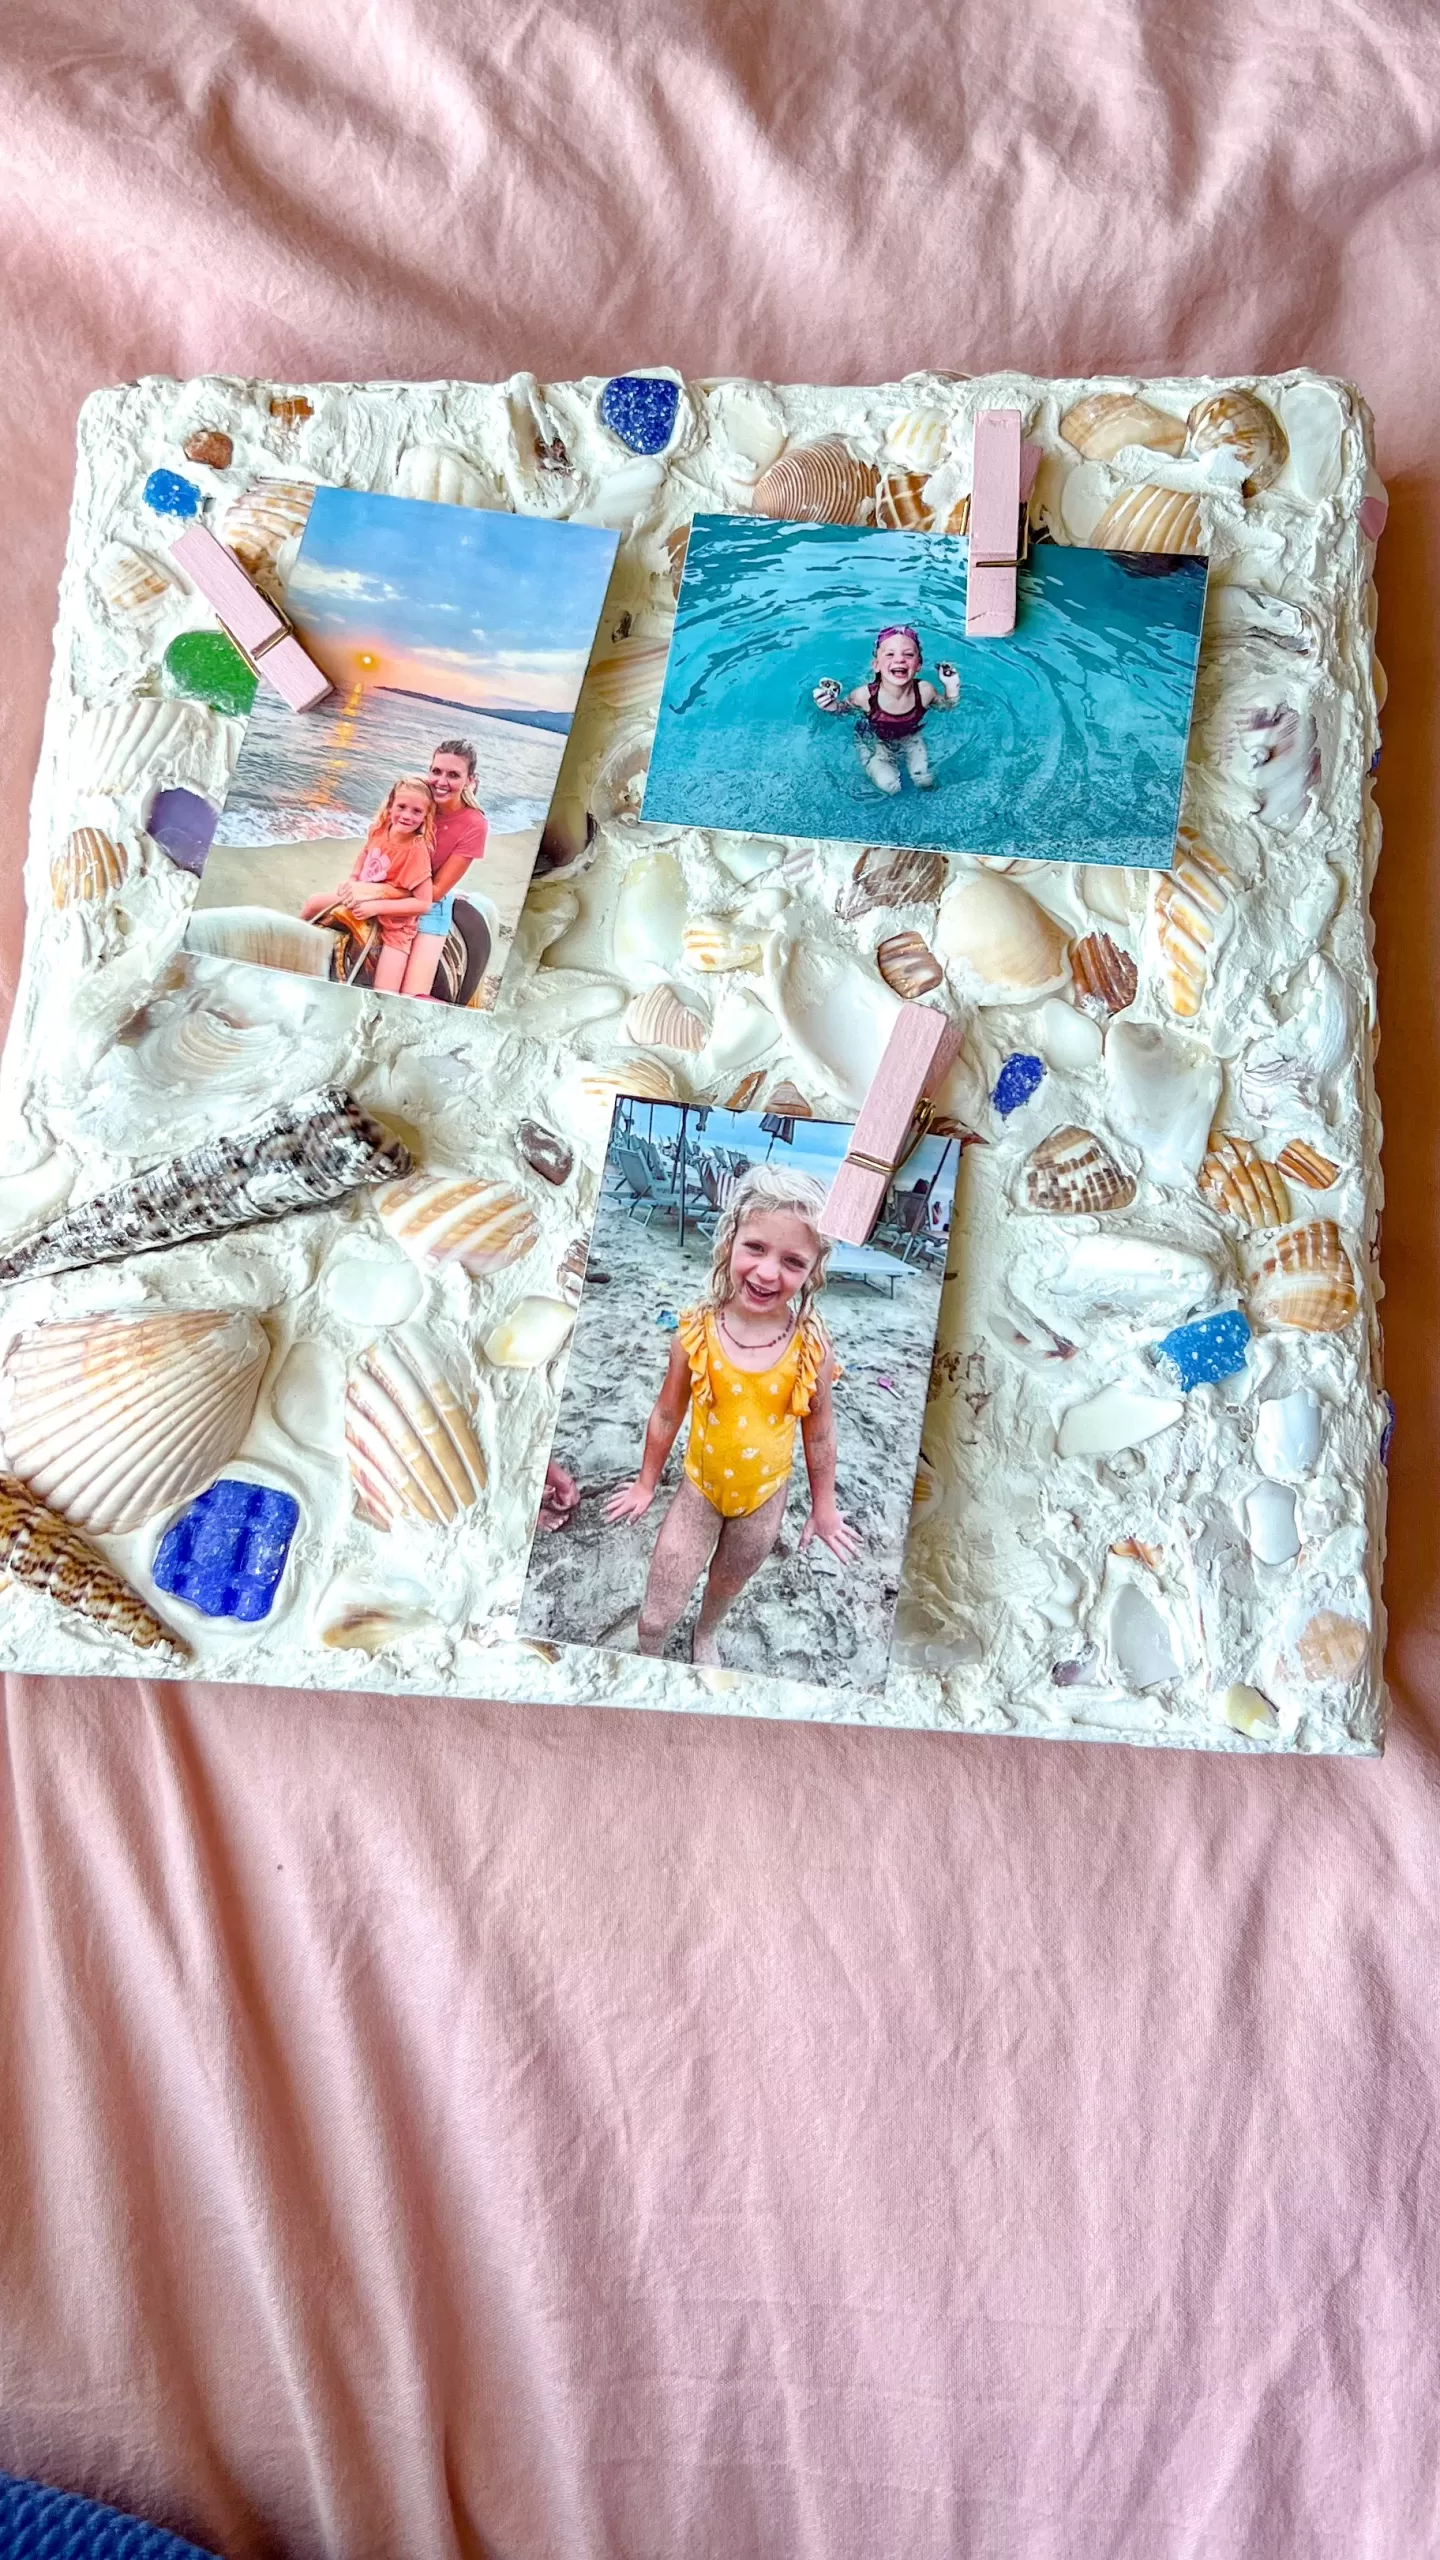
Create an easy DIY sea shell craft frame with all of those cute sea shells your kids collect on family beach vacations. Now they won’t be hanging around, collecting dust.
Supplies needed for the Sea Shell Craft Frame Idea
Click for a complete list to all the supplies here:
- Board
- Spackling
- Putty Knife
- Collected Sea Shells
- Clothes Pins
- Photo Printer/photos
- Hot Glue Gun
How to Create your Craft Frame:
Step One: Make sure to have all your materials on hand. It makes the project smoother… as with any project.
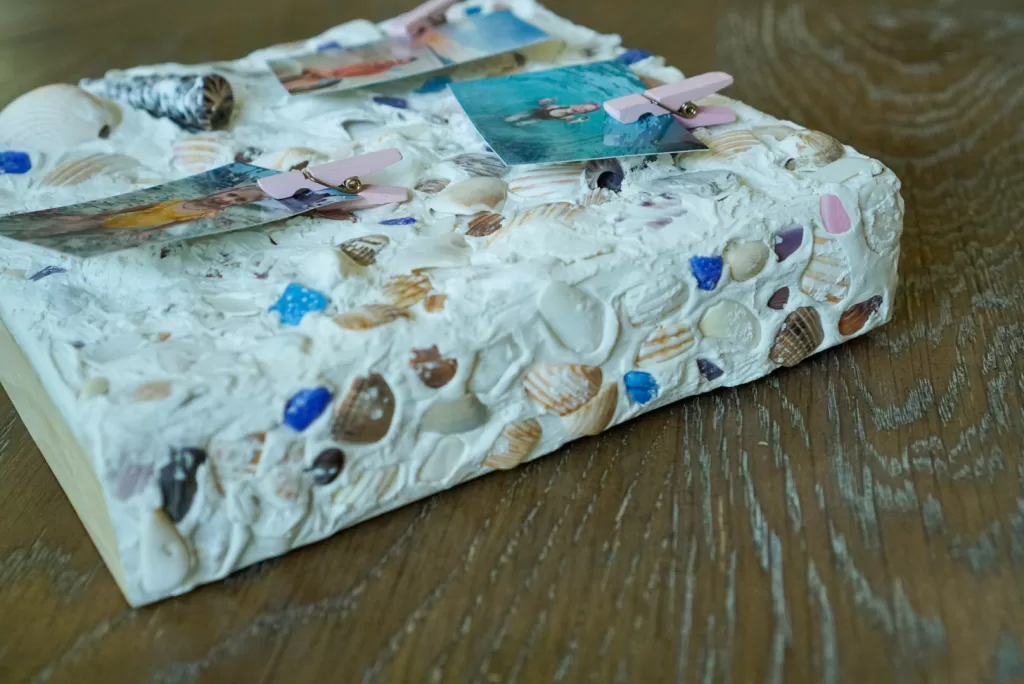
Step Two: Use your putty knife and just spread out that pink spackling evenly on your board. You will want it thick enough to “sink” your shells deep enough that they can stay secure. Around 1/8 – 1/4 inches thick depending on how big your shells are. Be sure to do the top and sides of your board, but leave the bottom ‘clean’ so your frame can still stand up.

Step Three: Spread out your shells and place them where you want them to be. Cover it all up!
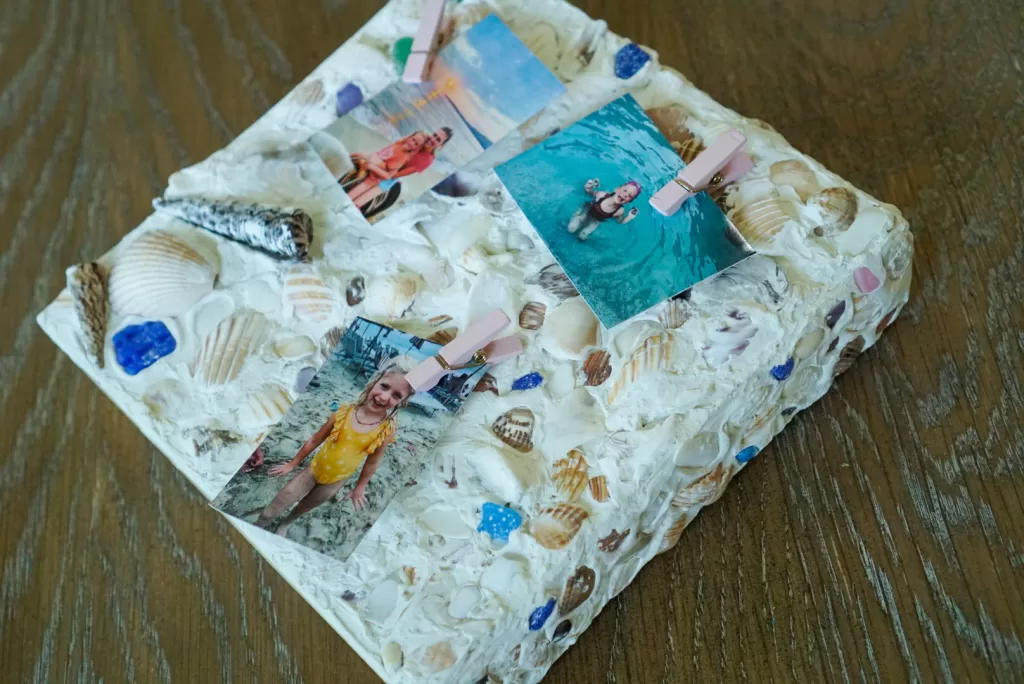
Step Four: Be sure to let your project dry completely. All the pink spackling should be white and the shells shouldn’t move.
Step Five: Print your photos
Step Six: Hot glue the clothespins where you want your photos to clip.
And easy peasy, you have a cute memory and decoration! And a purpose for all those sea shells you didn’t know what to do with.
Check out a quick DIY video on our IG account.
Be sure to check out our DIY Bracelets for another easy DIY. And if you’re heading on a road trip, don’t miss our Road Trip Activity Bags.