These DIY bracelets are so easy to make. You need minimal tools, but the possibilities you can create are endless.
One thing that I fell in love with when we were first married, was DIY. It’s expensive to have a family – especially when you start out young and you’re not in your career and just figuring things out. I fell in love with DIY because it made me feel like I could have/do almost anything – without the big price tags that often come along with just about anything.
Products Needed
I am always adding to our idea lists! So for a compiled list that we continually add to, make sure you check out our DIY Bracelet Idea List!
- Jewelry Pliers: I love this 3-pack. It’s the exact set that we use. It has everything you need for all of the steps. And they are cheap! The more you play around and create pieces, the more you will figure out which plier you like for which steps. Don’t get intimidated! IT REALLY IS SO EASY!!! If Tylee {she’s 12!} can whip out these little bracelets in under 10 minutes, you can do it too!
- Lobster Claws: There are many different kinds and colors of claws or fasteners that you can use – and honestly, I’m sure most are great. Just check reviews, and if you use a different kind – be sure to know how to ‘install’ (is that the word?!) them. These are specific ones we’ve used and they have worked perfectly for us.
- Crimp Beads: This is along the same lines as the lobster claws. I know that these ones work. They are the right sizing and they pinch down so they won’t come off. Feel free to shop around and go for something similar. Just check reviews and make sure the sizing will work with your lobster claws and designs.
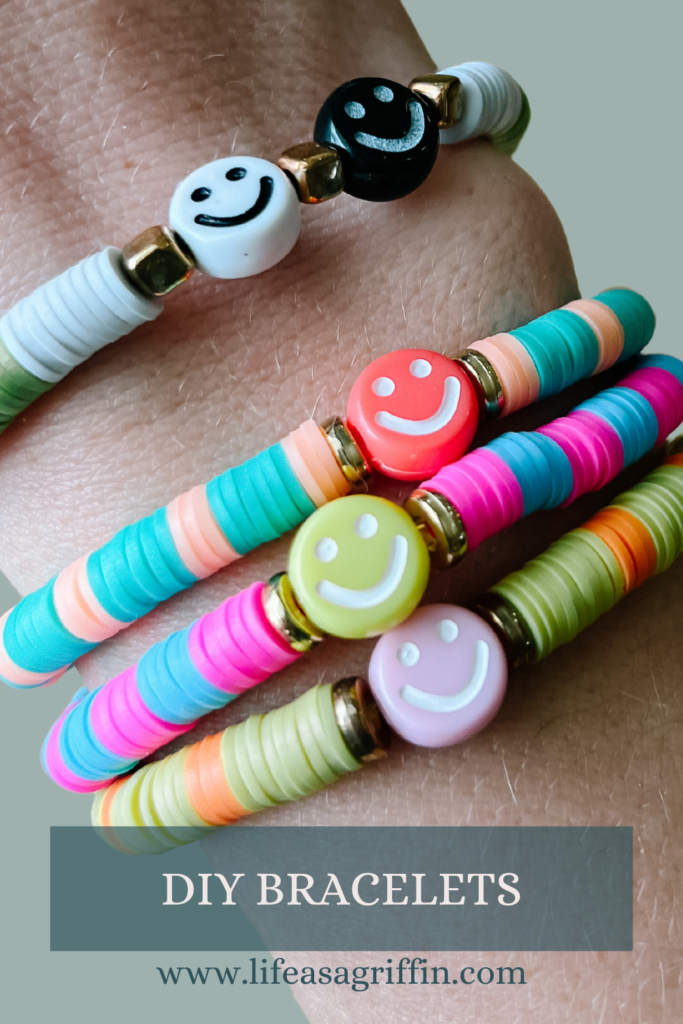
- BEADS!!!: Okay this is the fun part! Get creative and use whatever colors, ideas you like. Here are the sets we have specifically purchased, but again search the web. Find designs that you like that represent your personality and recreate your favorite looks. Think holidays, seasons, hobbies etc. There are beads for it all!! Use them for gifts for any age. You can even personalize them with adding their names, initials. Possibilities are seriously endless.
- Stretch Magic: This string is great because it has a little bit of give to it, and doesn’t break easily.
How to Assemble the DIY Bracelets
We included a tutorial video that walks through each of the steps to a DIY bracelet on our Instagram channel.
- Measure how long you will need the bracelet {or necklace, keychain or whatever else if you want!} Leave a little extra room to be able to tie it off without making it too small
- Start with 2 crimp beads and thread the Stretch magic {the bracelet string} through both crimp beads and then through the side of the lobster claw that opens. Turn the string back around over the lobster claw and go back through the crimp beads {this will make a loop around the lobster claw}. Leave a small tail of bracelet out the end {you can always trim it if you leave it too long}.
- Crimp the 2 crimp beads shut using your jewelry pliers.
- Next start your design. This is where the sky is the limit.
- Once you have your design, you will finish it off with 2 more crimp beads and the other side of the lobster claw {the side that doesn’t open}. Again go through the crimp beads and the lobster claw, then feed the string back through the crimp beads and clasp them shut with your pliers. Make sure that you get the beads secure so the string won’t slip through it.
- Trim off any extra string and voila! You are done.
If you like these DIY bracelets, maybe try out tie dye! We made these cute matching sweatsuit outfits for a Girls’ Trip and had so much fun.